


You may not be aware that the seemingly inconsequential trash mobs in Icecrown Citadel can drop epic items which bolster your raid’s strength before facing the main bosses.
When you step into the frozen halls of this daunting fortress, you’ll need to carefully assemble your raid party, ensuring that you have a balanced mix of damage dealers, healers, and tanks to withstand the onslaught of the Scourge.
Mastering boss mechanics goes beyond knowing when to dodge a frostbolt or shatter a block of ice; it’s about synchronizing your team’s movements and cooldowns like a well-oiled machine.
As we discuss optimizing your gear and consumables, you’ll discover the nuanced choices that can mean the difference between a triumphant victory and a crushing defeat.
But remember, the true test lies at the pinnacle of the Citadel, where the Lich King awaits—a showdown that will not only challenge your skills but also the very cohesion of your raiding party.
Stay with me, as I unveil the strategies that can lead your team to glory in the frozen heart of Northrend.
Assembling Your Raid Party
When assembling your raid party for Icecrown Citadel, it’s crucial to balance roles and classes for optimal performance. Facing Arthas Menethil isn’t a walk in the park; you’ll need a well-rounded team to tackle both normal mode and heroic difficulty.

You’ve got to consider your tanks; they’re the bedrock of the entire raid. A mix of survivability and threat generation is key, so don’t skimp on sturdy warriors or paladins. Healers, you need them alert and diverse. Blend the raw healing power of priests with the utility of druids and the mitigation of shamans or paladins.
Now, for your DPS crew, diversity’s the spice of life—and death for Arthas. Balance the steady damage of ranged mages and hunters with the burst potential of rogues and death knights. In Icecrown Citadel, crowd control isn’t just handy, it’s a lifesaver, particularly for the average guild not overflowing with elite gear.
Mastering Boss Mechanics
Having assembled a balanced raid party, it’s now crucial to understand each boss’s unique mechanics to conquer Icecrown Citadel. Remember, bosses in heroic mode won’t just hit harder but also introduce additional abilities that’ll test your coordination and adaptability.
For example, when facing the Blood Queen Lana’thel, you’ll need to manage her blood power effectively. If she accumulates too much, the amounts of damage she deals can wipe your raid. Designate a few raid members to keep track of her power levels and call out when it’s time to use your defensive cooldowns.
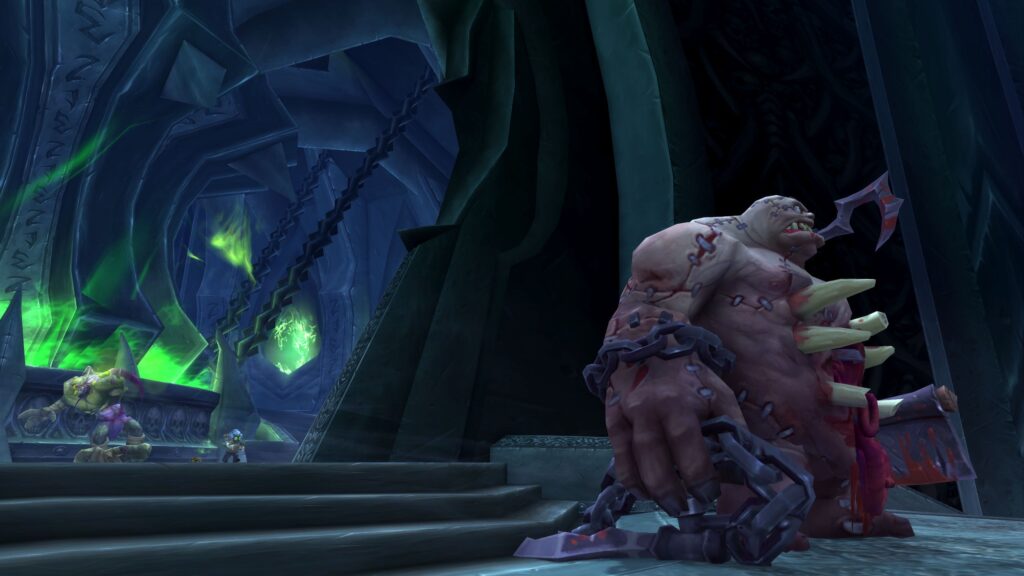
Watch out for aoe damage, especially during encounters like the one with Lord Marrowgar. His Bone Storm ability can cause massive aoe damage, so spread out to minimize the impact on the group. Likewise, when Professor Putricide unleashes his ooze creations, split your attention between the boss and the adds to control the battlefield.
Don’t forget the boiling blood mechanic during the Deathbringer Saurfang fight. Assign a healer to keep an eye on affected players, as they’ll take significant damage over time. It’s a balancing act – keep them alive without draining your healers’ mana pools too quickly.
Master these mechanics, and you’ll be one step closer to standing before the Lich King himself.
Optimizing Gear and Consumables
To maximize your raid’s potential in Icecrown Citadel, it’s essential to fine-tune your gear and stock up on the right consumables. You’ll face formidable foes in this frozen fortress, and every stat boost can make the difference between victory and defeat.
First, ensure your gear is gemmed and enchanted to enhance your primary role—whether it’s tanking, healing, or dealing damage. Don’t overlook the importance of resistance gear, particularly Frost Resistance for the Sindragosa encounter. It’s also vital to optimize your gear for your preferred player mode, whether it’s 10 or 25 players, as the difficulty and the gear requirements can vary significantly.
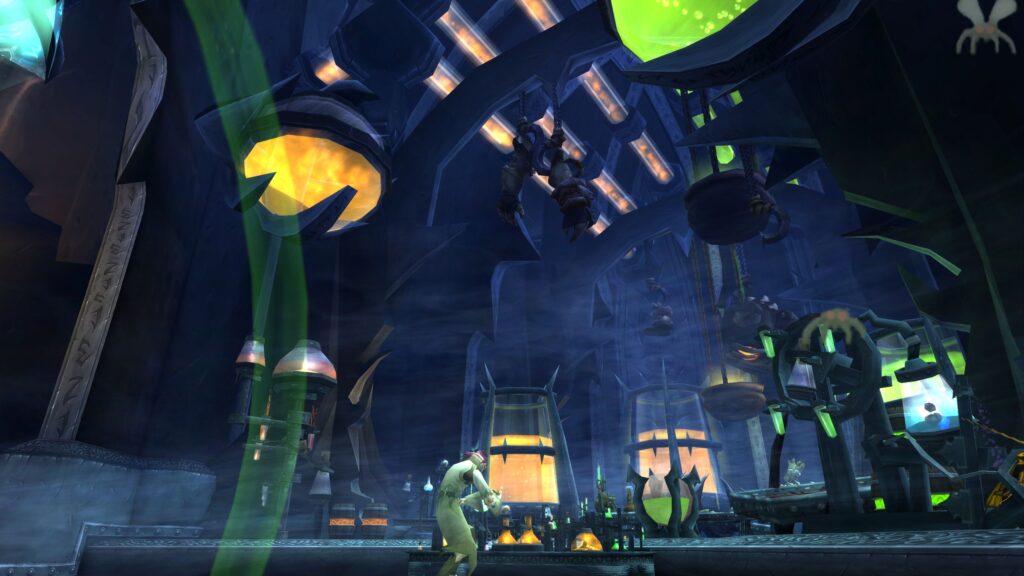
Next, let’s talk consumables. Flasks and potions should match your class and role. Tanks might lean towards Flask of Stoneblood for the health increase, while DPS classes may prefer the Flask of Endless Rage for the added attack power. Always have a stack of the appropriate buff food—Fish Feasts are a great choice for any class if available.
Lastly, don’t forget to bring along class-specific items like runes or oils to further enhance your abilities. With your gear and consumables optimized, you’re ready to take on the Lich King’s most fearsome champions.
Navigating the Icecrown Map
Mastering the layout of Icecrown Citadel is crucial, as it’ll guide your raid through the labyrinth of undead horrors and lead you to the Lich King’s throne. You’ll start your journey at the Light’s Hammer, a deceptively peaceful area that serves as the staging ground for the assault.
As you move on, you’ll encounter the Spire, home to several wings that you must clear. The Plagueworks, teeming with putrid enemies, will test your group’s ability to handle disease and decay. Don’t let Professor Putricide’s twisted experiments catch you off guard. Next, the Crimson Hall, where the Blood Prince Council and the infamous Blood-Queen Lana’thel await, demands your attention to mechanics involving blood and vampirism.
The Frostwing Halls will chill you to the bone, with the frost wyrm Sindragosa reigning supreme. Her icy grip isn’t to be underestimated; pay close attention to positioning to avoid her devastating frost abilities.
The Lich King Showdown
As your raid ascends to the Frozen Throne, you’ll confront the Lich King, Azeroth’s most notorious antagonist, whose tactics require precise coordination and unwavering resilience. The battle begins with positioning; spread out to minimize the damage from Infest and avoid the ghastly Shadow Traps.
You’ll need to handle the phases expertly. During Phase 1, dispatch Shambling Horrors with care, and dodge the Lich King’s sweeping attacks. Transition phases are all about survival; keep moving to avoid Remorseless Winter and focus down Raging Spirits quickly.

The true test comes in Phase 2. Defile demands you’re quick on your feet—dropping this in the wrong spot can spell disaster for your team. Coordinate with your group to manage the Val’kyr, ensuring they don’t carry off your allies to their doom.
In the final phase, when the Lich King casts Harvest Soul, designated players must enter Frostmourne’s realm to battle tortured spirits. Back on the throne room floor, it’s a race against time to bring him down before the Vile Spirits overwhelm you.
Conclusion
You’ve mustered your band of heroes, delved deep into boss tactics, and honed your gear to a razor’s edge. Now, Icecrown’s chilling spires loom above, a stark contrast to the fiery determination in your hearts.
As you stand at the precipice of the Lich King’s throne, remember: every step through this frozen fortress was a forge for your resolve. Steel yourself for the final clash; Azeroth’s fate rests in your hands, champions. The Lich King awaits.